When you work at a Hatchery, it’s inevitable that someone in your family will develop an interest in chickens. I’d bet that’s how the McMurray family kept the Hatchery business going for several generations.
Fluffy, cheeping day-old baby chicks are irresistible, and my 12-year-old has caught the ‘bug’. As a mom, I’m always looking for fun activities to do with her. As a marketer, I’m always game for a fun activity that will show how great McMurray Hatchery is. I’ve watched for years as Curt, Kent and the team in the Hatchery have hatched chicks, and quickly and carefully boxed them up and shipped them all over the country each week. My daughter was studying the development of eggs in her science class at school, so we decided to combine her interest, school and my work by trying our hand at hatching eggs at home.
MAKING A PLAN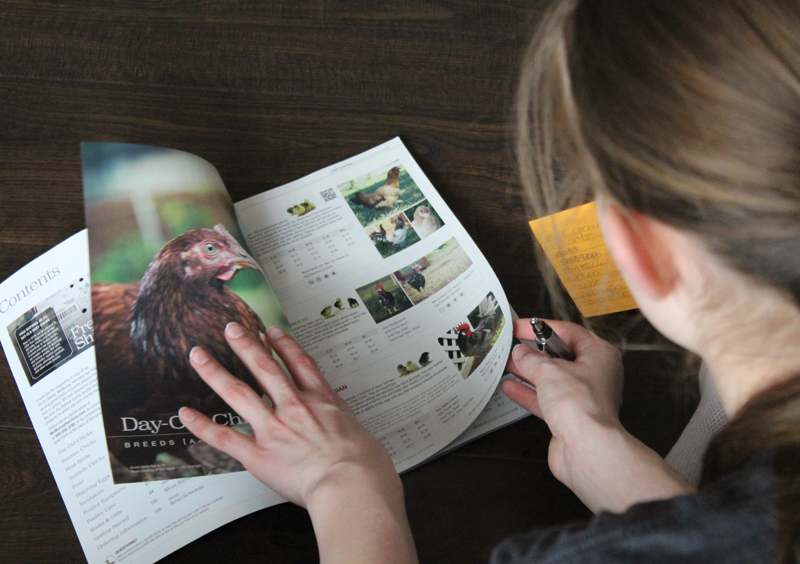
We were excited to get started and hatch our own chicks at home, but first we needed to make a plan. We started by choosing the breeds we wanted to hatch, planning the timing of the hatch, picking up the eggs, and ordering the incubator, the candling device, and the supplies we’d need for brooding the chicks once they hatched.
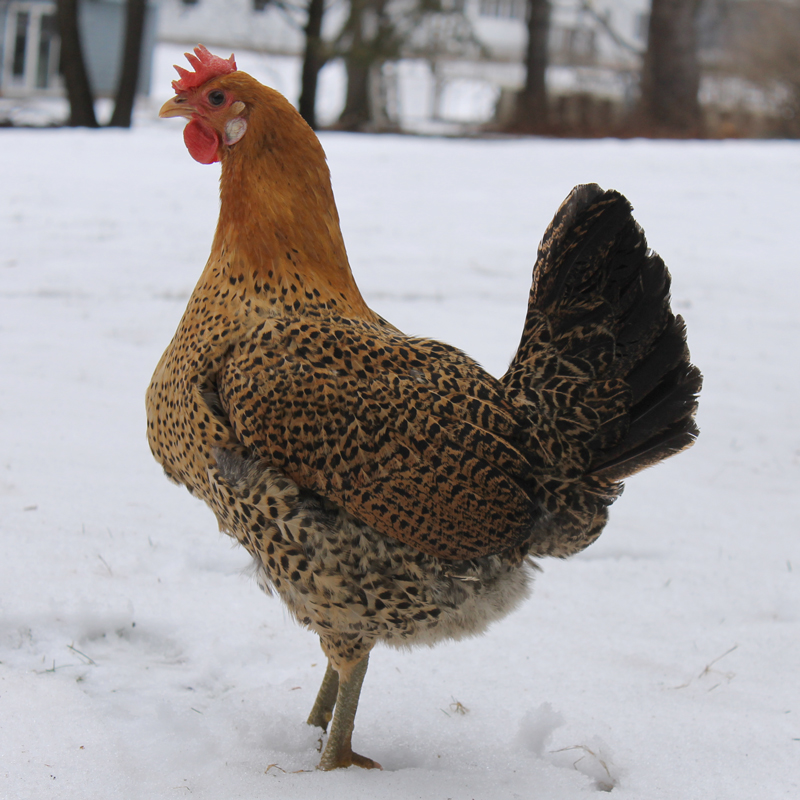
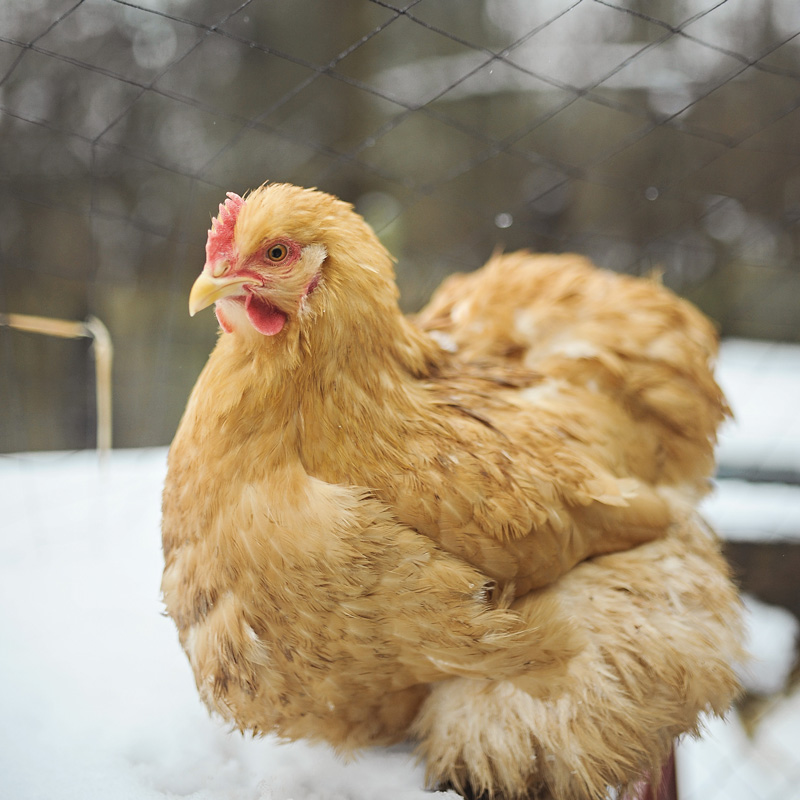
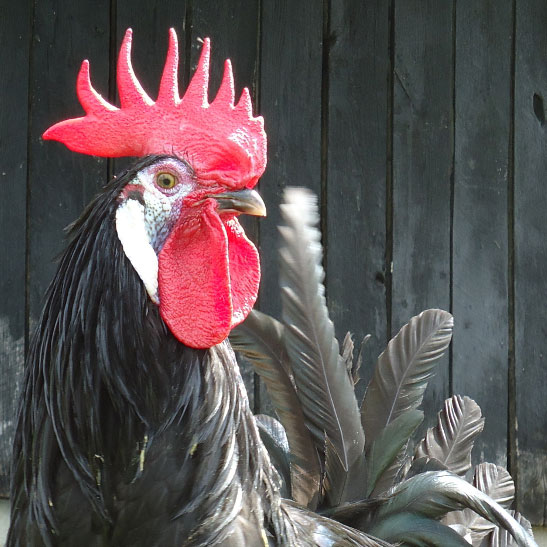
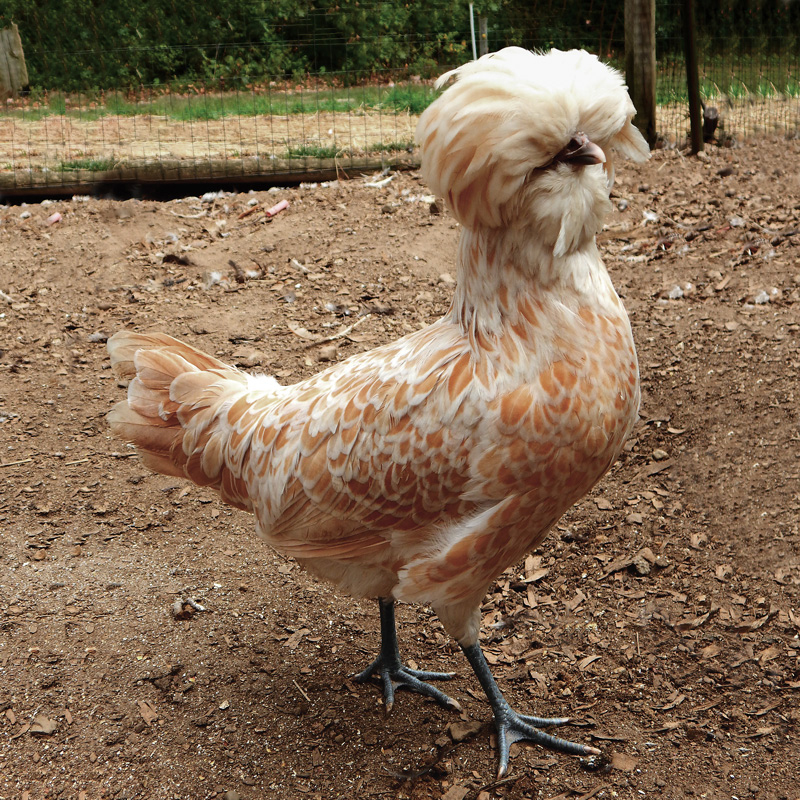
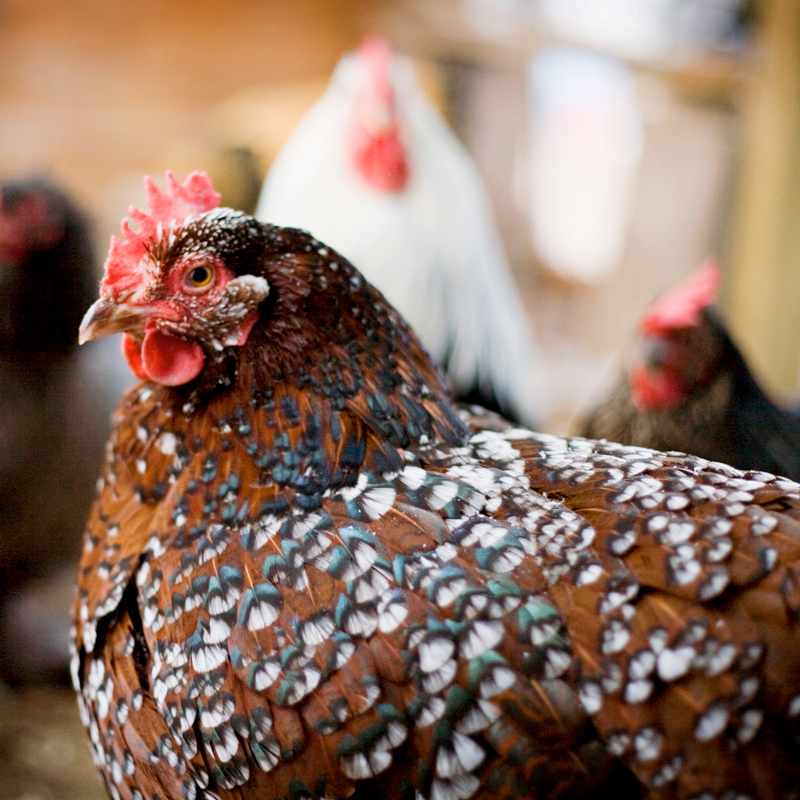
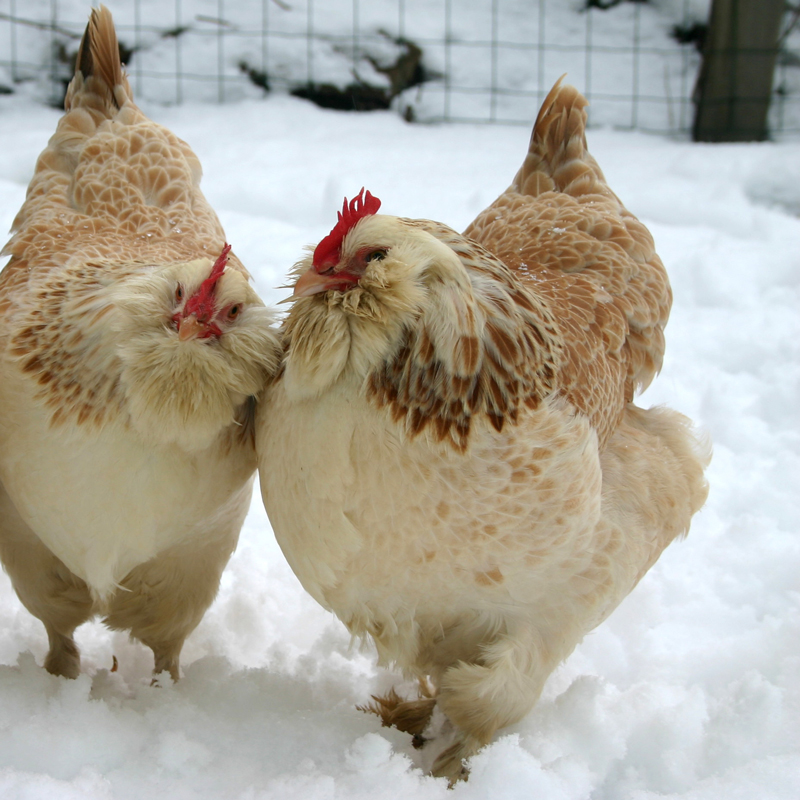
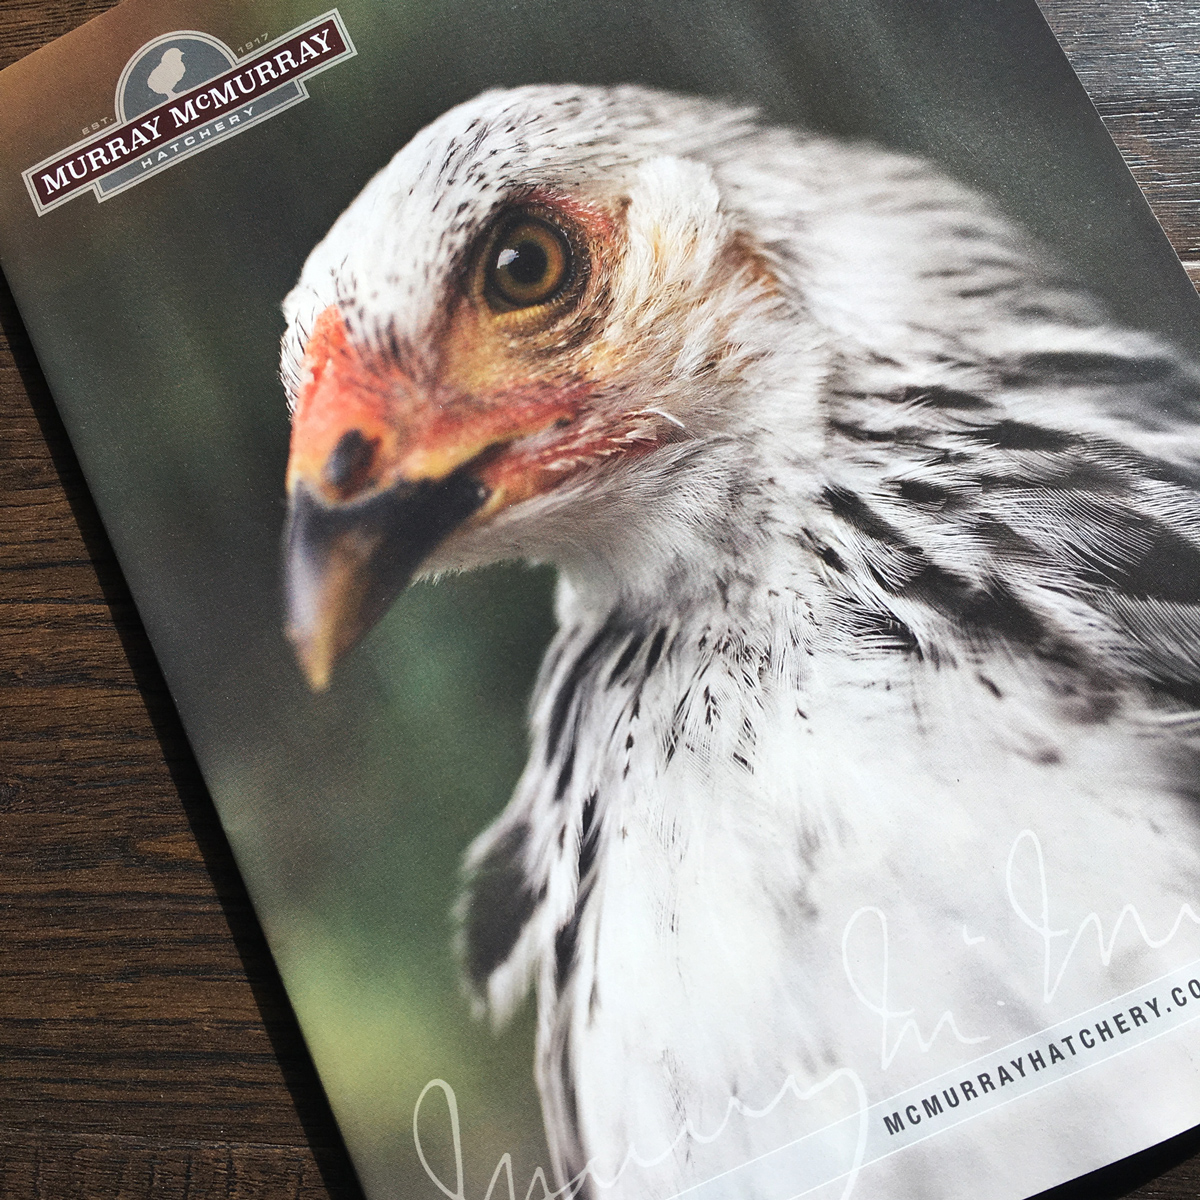
I left step one, choosing the breeds, up to my daughter. She had watched me design the McMurray Hatchery catalog over the past several years, and finally she was allowed to sit down with our latest issue and pick out the breeds she wanted. With nearly 80 breeds of standard-sized chickens to choose from, it took her some time to narrow the list down seven breeds she wanted. In the end she selected the Buff Cochin, White Faced Black Spanish, Salmon Faverolle, Buttercup, Speckled Sussex, Buff Laced Polish, and a Turken (see below for photos of each breed).
Next we needed to plan the timing of the hatch. We selected the month of April because it was the beginning of Spring weather in Iowa, and it is also Earth Month. It takes 21 days to incubate the eggs so we decided to set the eggs on Tuesday, April 2nd, so they would hatch on the Monday or Tuesday of Earth Week.
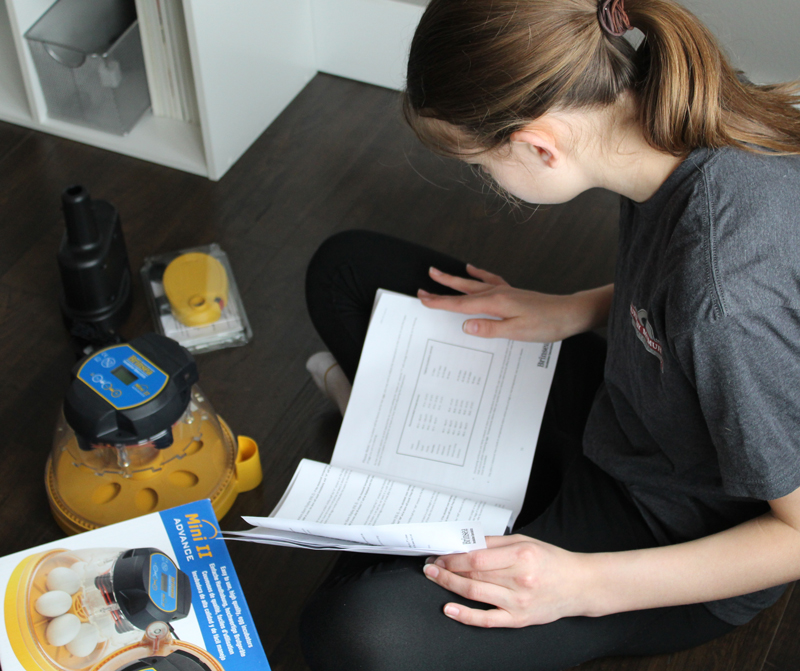
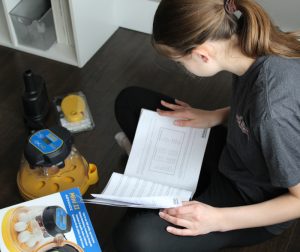 The next step was getting the incubator and the candling device. We carry the Brinsea® line of home incubators on our website and we were thrilled when they offered to help sponsor our project by supplying us with a Brinsea Mini II Advance 7-egg incubator and their OvaView and OvaScope for candling the eggs. The Mini II Advance incubator has a built-in automatic turner and a digital display that would count down the days for us, and alert us if there were any issues with the temperature or humidity during the incubation. The egg candler and scope would allow us to check the development of the eggs over the course of the 21 days.
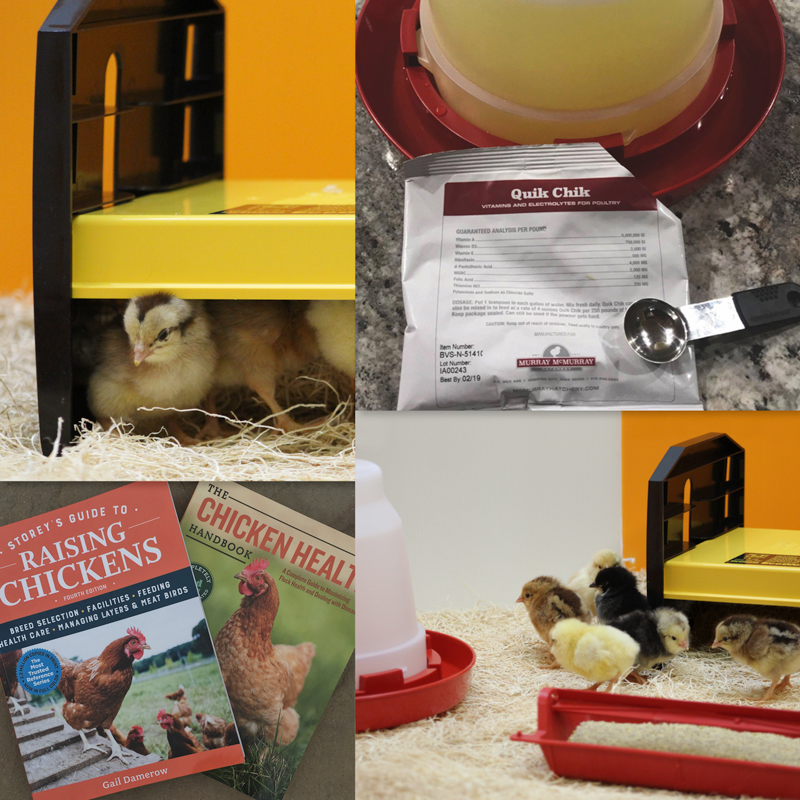
The last item on our list was the brooder. While we would have 21 days until the eggs hatched, that time would pass quickly and we decided it’s better to be prepared. We selected the new McMurray Hatchery Platinum Starter Kit as our brooder. This new kit includes the Brinsea EcoGlow 20 radiant heat brooder plate, and since we were going to be brooding our chick indoors, we decided that was a better choice for a heat source than a heat lamp which could easily get knocked over in a busy household. The kit included everything we needed — brooder panels, feeder, waterer, thermometer, Gail Damerow’s chicken help 2-book bundle, Quik Chik, our own organic chick starter feed, and the EcoGlow. All we needed to get in addition to that was some pine chips for bedding.
PICKING UP THE EGGS
 We had everything ready, now it was time to pick up the eggs. We hatch chicks every Monday through Wednesday at the Hatchery. On Thursday and Friday, Kent and the team tray the next round of eggs. The fertile eggs come in from our flocks by the case, and the team gets to work organizing them into flats, labeling them, and setting them in the incubators.
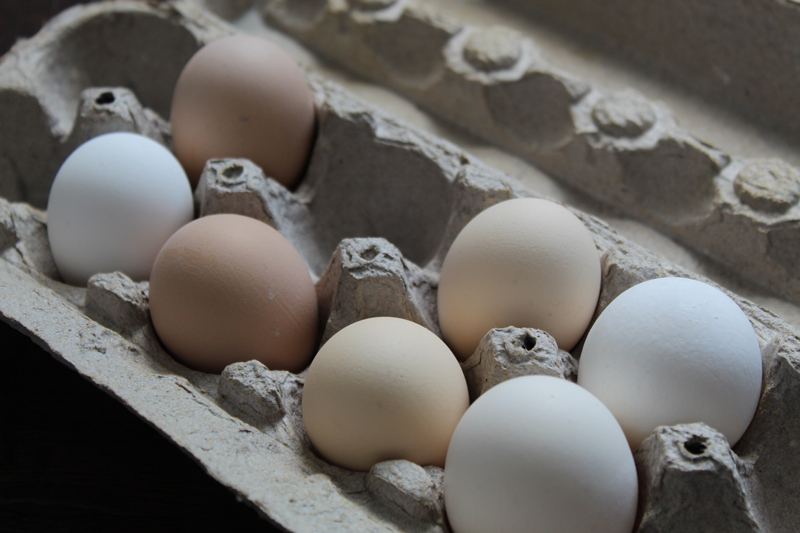
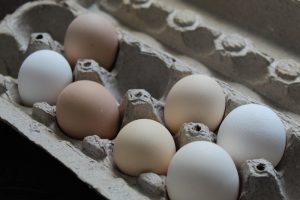
I picked up the eggs from the Hatchery on the Friday before we planned on setting ours in the incubator. The hatchability of each egg can be affected by temperature, movement, time since it was laid and a number of other factors, so I carefully selected our seven eggs, placed them in an egg carton, and drove them home. Since we weren’t setting the eggs in the incubator until the following Tuesday, I stored them in a safe, cool, dry location in our house away from direct sunlight. While we planned on setting seven eggs, we knew that there was a chance that not all of them would successfully hatch.
SETTING THE EGGS
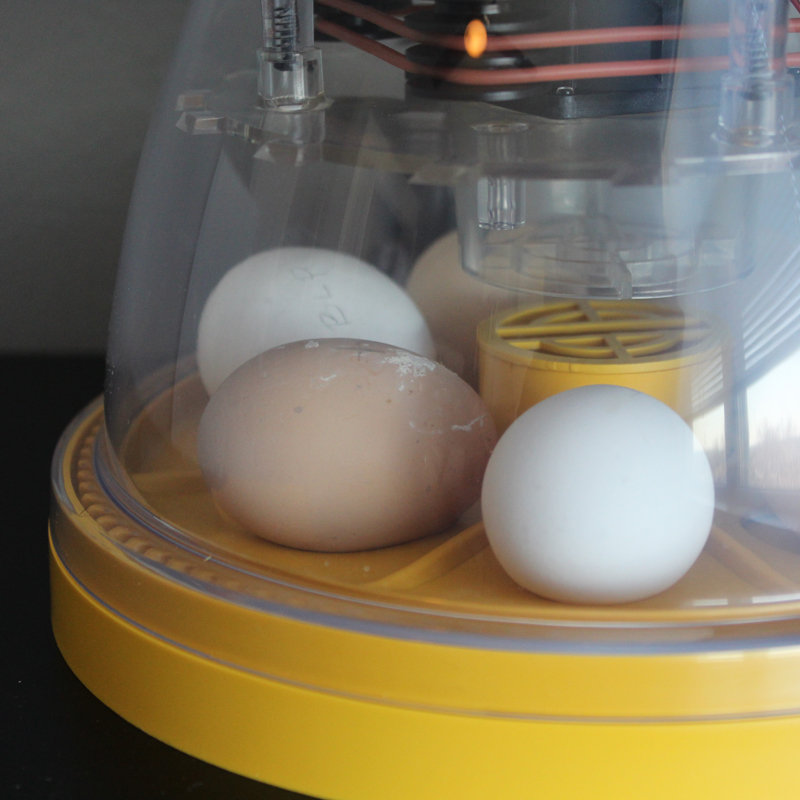
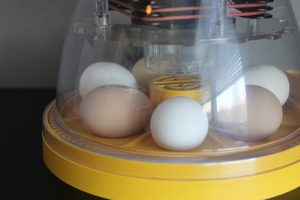 Before long, it was time to set the eggs in the incubator. It was an exciting day for both of us. We read the instructions for the incubator and started it up an hour ahead of time so it would be warmed up and ready to go. That afternoon, we marked each egg with an X on one side, filled the water reservoir, and set our seven little eggs in the incubator.
The Brinsea Mini Advance II incubator took it from there. For the next 21 days, it would keep the eggs at a consistent 99.5 degrees (F), and turn them automatically. All we needed to do was keep water in the reservoir and wait.
In the next post in our Hatch at Home series, we’ll candle the eggs at seven and 14 days to check the progress of our seven little chicks and learn more about how the chick develops inside the egg.
When you work at a Hatchery, it’s inevitable that someone in your family will develop an interest in chickens. I’d bet that’s how the McMurray family kept the Hatchery business going for several generations.
Fluffy, cheeping day-old baby chicks are irresistible, and my 12-year-old has caught the ‘bug’. As a mom, I’m always looking for fun activities to do with her. As a marketer, I’m always game for a fun activity that will show how great McMurray Hatchery is. I’ve watched for years as Curt, Kent and the team in the Hatchery have hatched chicks, and quickly and carefully boxed them up and shipped them all over the country each week. My daughter was studying the development of eggs in her science class at school, so we decided to combine her interest, school and my work by trying our hand at hatching eggs at home.
MAKING A PLAN
We were excited to get started and hatch our own chicks at home, but first we needed to make a plan. We started by choosing the breeds we wanted to hatch, planning the timing of the hatch, picking up the eggs, and ordering the incubator, the candling device, and the supplies we’d need for brooding the chicks once they hatched.
I left step one, choosing the breeds, up to my daughter. She had watched me design the McMurray Hatchery catalog over the past several years, and finally she was allowed to sit down with our latest issue and pick out the breeds she wanted. With nearly 80 breeds of standard-sized chickens to choose from, it took her some time to narrow the list down seven breeds she wanted. In the end she selected the Buff Cochin, White Faced Black Spanish, Salmon Faverolle, Buttercup, Speckled Sussex, Buff Laced Polish, and a Turken (see below for photos of each breed).
Next we needed to plan the timing of the hatch. We selected the month of April because it was the beginning of Spring weather in Iowa, and it is also Earth Month. It takes 21 days to incubate the eggs so we decided to set the eggs on Tuesday, April 2nd, so they would hatch on the Monday or Tuesday of Earth Week.
The next step was getting the incubator and the candling device. We carry the Brinsea® line of home incubators on our website and we were thrilled when they offered to help sponsor our project by supplying us with a Brinsea Mini II Advance 7-egg incubator and their OvaView and OvaScope for candling the eggs. The Mini II Advance incubator has a built-in automatic turner and a digital display that would count down the days for us, and alert us if there were any issues with the temperature or humidity during the incubation. The egg candler and scope would allow us to check the development of the eggs over the course of the 21 days.
The last item on our list was the brooder. While we would have 21 days until the eggs hatched, that time would pass quickly and we decided it’s better to be prepared. We selected the new McMurray Hatchery Platinum Starter Kit as our brooder. This new kit includes the Brinsea EcoGlow 20 radiant heat brooder plate, and since we were going to be brooding our chick indoors, we decided that was a better choice for a heat source than a heat lamp which could easily get knocked over in a busy household. The kit included everything we needed — brooder panels, feeder, waterer, thermometer, Gail Damerow’s chicken help 2-book bundle, Quik Chik, our own organic chick starter feed, and the EcoGlow. All we needed to get in addition to that was some pine chips for bedding.
PICKING UP THE EGGS
We had everything ready, now it was time to pick up the eggs. We hatch chicks every Monday through Wednesday at the Hatchery. On Thursday and Friday, Kent and the team tray the next round of eggs. The fertile eggs come in from our flocks by the case, and the team gets to work organizing them into flats, labeling them, and setting them in the incubators.
I picked up the eggs from the Hatchery on the Friday before we planned on setting ours in the incubator. The hatchability of each egg can be affected by temperature, movement, time since it was laid and a number of other factors, so I carefully selected our seven eggs, placed them in an egg carton, and drove them home. Since we weren’t setting the eggs in the incubator until the following Tuesday, I stored them in a safe, cool, dry location in our house away from direct sunlight. While we planned on setting seven eggs, we knew that there was a chance that not all of them would successfully hatch.
SETTING THE EGGS
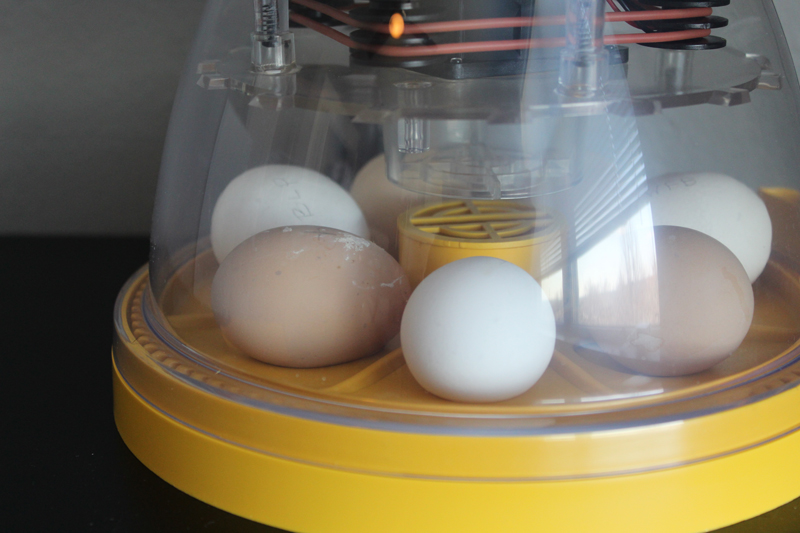
Before long, it was time to set the eggs in the incubator. It was an exciting day for both of us. We read the instructions for the incubator and started it up an hour ahead of time so it would be warmed up and ready to go. That afternoon, we marked each egg with an X on one side, filled the water reservoir, and set our seven little eggs in the incubator.
The Brinsea Mini Advance II incubator took it from there. For the next 21 days, it would keep the eggs at a consistent 99.5 degrees (F), and turn them automatically. All we needed to do was keep water in the reservoir and wait.
In the next post in our Hatch at Home series, we’ll candle the eggs at seven and 14 days to check the progress of our seven little chicks and learn more about how the chick develops inside the egg.
Hatch at Home Part One: Getting Started
In the first video in our Hatch at Home series, we receive our Brinsea Mini II Advanced incubator, select our seven breeds, and set the eggs in the incubator. Want to try this project yourself? See below for links to all the breeds and products used in this video.
QUICK LINKS
Shop all the breeds and items in this blog and video by clicking an image below.

