
The first time we brought home a box of chicks, I was terrified. The day-old chicks needed specialized care and I wanted to do everything right to help them grow from cheeping balls of fluff to a feathered flock clucking around the pasture.
I read a lot of great books about keeping chickens but I needed a simple checklist to make sure I had all of the supplies I needed to get them settled in (and avoid multiple trips to the farm store). This Spring, before your order of just-hatched chicks make the journey from the hatchery to your coop, use this list to prepare for their arrival.
Choose Your Chickens
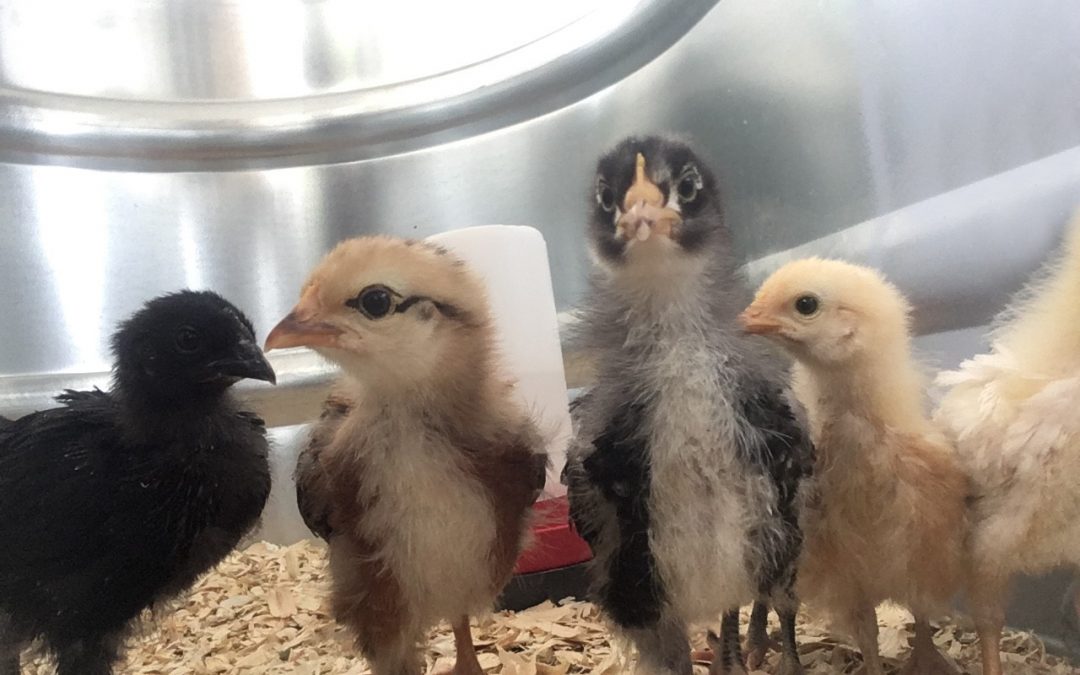
There are so many amazing breeds that it can be hard to pick. I started our flock with Buff Orpington, Barred Rock and Columbian Wyandotte chicks because all were good laying breeds for beginners, and added Ameraucanas for their colorful eggs. If you want meat birds, Jumbo Cornish X Rocks and Cornish Roasters are excellent choices.
You’ll also need to think about size, temperament and cold hardiness (or heat tolerance, depending on your climate) when ordering chicks.
Not sure which breeds are right for your flock? Check out some of our amazing breeds and, if you still can’t decide, try an assortment.
Stock Up On Supplies
Purchasing essentials before chicks arrive helps ease the transition from the hatchery to their new home.
Chicks need just three things: a warm brooder, feed and water.
- BROODER: Chicks start their lives in a brooder before moving into a coop. You can make a brooder from a storage bin, kiddie pool or cardboard box. It should be large enough to hold a feeder and waterer and give the chicks enough space to move around. Avoid brooders with corners where chicks can pile up and get crushed; rounded sides are a better option. Remember, chicks grow fast; choose a brooder that will still be big enough when chicks are six weeks old. A Premium Starter Kit provides all of the essentials (except feed and bedding) to start a flock.
- HEAT SOURCE: A source of heat helps keep chicks warm. For small backyard flocks, a radiant heater is a great option. Keeping the brooder warm is essential but heaters need to be used with care; if using a traditional heat lamp, make sure the heat source is secure and not near the bedding.
- THERMOMETER: A simple plastic thermometer is sufficient to monitor the temperature in the brooder.
- BEDDING: Pine shavings, straw or shredded leaves are ideal.
- FEEDER AND WATERER: Choose feeders and waterers designed for chicks, not mature chickens. Look for feeders that were designed to prevent roosting (to minimize droppings in the feed) and have a broad enough base to avoid toppling. One- and two-gallon waterers offer enough room for the entire flock to hydrate but are too small for chicks to fall in.
- FOOD: Chicks need the right balance of nutrients to support their rapid growth. A “starter feed” is the best choice until chicks reach eight weeks old.
Prepare the Brooder
Set up the brooder in a safe, predator-proof location. A bathroom, garage or secure area in the barn are ideal spots to set up your brooder.
Spread bedding on the floor of the brooder and place a layer of paper towel over the top for the first few days to give chicks a little traction when moving around (newspaper and other slick surfaces increases the risk of injuries like spraddle leg). The bedding also absorbs droppings. Fill food and water dishes.
If using a traditional heat lamp, turn it on at least 24 hours before the chicks are scheduled to arrive. It should be a draft-free area with a temperature between 90 and 95 degrees to keep the chicks warm. If the brooder is too cool, the chicks could get sick or die.
Pick Up the Chicks
Even though your chicks are shipped through the mail, your mail carrier won’t deliver them to your door. Instead, you’ll get a call from the post office when chicks arrive (often first thing in the morning). Pick them up as soon as possible. If it’s cool outside, run the heater in the car and go straight home; don’t leave chicks in the car.
Introduce Them to Their New Home
When the chicks arrive home, gently take them from the cardboard shipping box and place them in the brooder.
Dip their beaks in the water to show them where to get a drink and put some feeder on your finger to let them know food is available, too.
It won’t take long for your chicks to start feeling at home.
Have Fun
I loved watching the chicks explore their surroundings and was surprised at how fast they grew from chicks into chickens. Enjoy their antics and your new role as a new flock owner.
 About the Author
Jodi Helmer writes about food and farming for Modern Farmer, Acres, FFA New Horizons, Hobby Farms and Living the Country Life while raising chickens, goats and bees on a small homestead in rural North Carolina.
Shop Jodi’s Breeds

Buff Orpingtons from McMurray Hatchery

Barred Rocks from McMurray Hatchery

Columbian Wyandotte from McMurray Hatchery

Ameraucanas from McMurray Hatchery